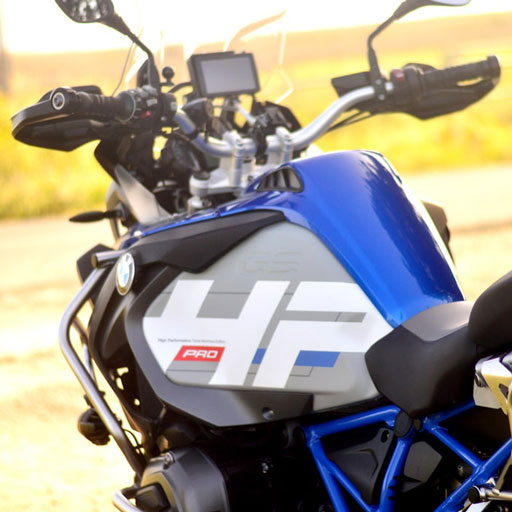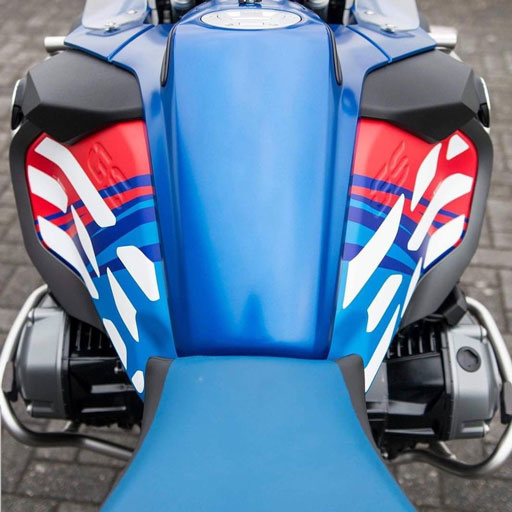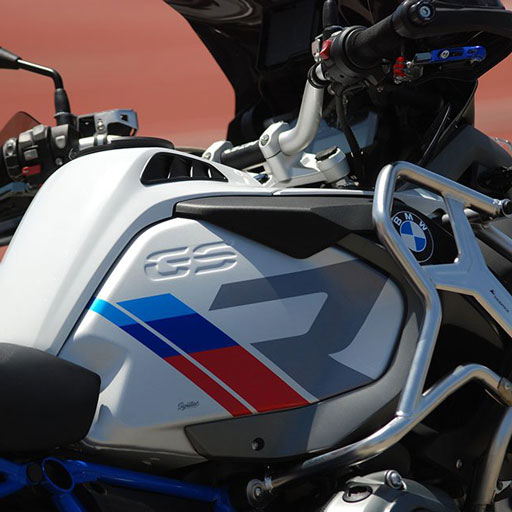


- Wash whenever the motorcycle appears dirty. Contaminants allowed to remain on the vinyl may be more difficult to remove during cleaning.
- Rinse off as much dirt and grit as possible with a spray of water.
- See “Difficult Contaminants”, for spot cleaning bird droppings, tar, etc.
- Use a wet, non-abrasive detergent such and a soft, clean cloth or sponge.
- Rinse thoroughly with clean water. To reduce water spotting, immediately use a silicone squeegee to remove water and finish with a clean microfiber cloth.
Although hand washing is the preferred cleaning method, pressure washing may be used under these conditions:
- Ensure the water pressure is kept below 2000 psi (14 MPa).
- Keep water temperature below 80 °C (180 °F).
- Use a spray nozzle with a 40 degree wide angle spray pattern.
- Keep the nozzle at least 1 foot (300 mm) away from and perpendicular (at 90 degrees) to the graphic.
Holding the nozzle of a pressure washer at an angle to graphic may lift the edges of the film
Soften difficult contaminants such as bug splatter, bird droppings, tree sap, and similar contaminants by soaking them for several minutes with very hot, soapy water. Rinse thoroughly and dry. If further cleaning is needed, test one of these products in an inconspicuous area to ensure no damage to the vinyl:
- Meguiar’s Gold Class™ Bug
- Tar Remover
- 3M™ Citrus Base Cleaner
- Isopropyl alcohol (IPA) (two parts IPA to 1 part water)
- Denatured alcohol may also help
Spot clean the contaminants. Do not use rough scrubbing or abrasive tools, which will scratch the film. Wash and rinse off all residue immediately.
Wipe off immediately to avoid degrading the vinyl. Then wash, rinse and dry as in “Wash Regularly” as soon as possible.
The following restoration recommendations will help keep your vehicle wraps looking their best.
- Do no use any abrasive polishes or cutting compounds.
- Do not use any polishing or wax products on matte or textured films.
- Use if there is wax or wax residue on the surface, remove with an all-purpose cleaner.
Based in type/degree of contamination, use one of more of these solutions, to remove any build-up:
- Hot, soapy water solution
- Isopropyl alcohol (IPA) and water (ratio 2:1)
- Simple Green® All-Purpose Cleaner
- Household chlorine bleach; followed by IPA/water (#2)
- Mineral spirits; followed by IPA/water (#2)
Do not allow cleaning solution to soak and immediately rinse with clear water.
Vinyl (just like paint) are degraded by prolonged exposure to sun and atmospheric pollutants. Whenever possible, store in a garage or at least in a shaded area during the day. At night protect the motorcycle from dew or rain, which may contain acidic pollutants (a common problem in many large metropolitan areas). When a garage is not available, consider using a cloth motorcycle cover at night. If your vinyl starts to discolor or turn brown, immediately remove the vinyl from the motorcycle to avoid staining the underlying paint.
You can clean them the same way you clean your motorcycle. For extra protection of your protective films, you can apply a vinyl, rubber and protectant cleaner, such as STP, ARMORALL, SONAX, etc.
- With the heat gun or hairdryer, heat the desired sticker in order to soften the adhesive. Do so with a sweeping motion from a distance, making sure not to heat up the paint too much.
- When the sticker is warmed up, with your finger starting from an edge of the sticker, start to peel it off at a 90 degrees angle. This helps the sticker from tearing and it usually lifts the adhesive side of the sticker from the paint.
- ATTENTION: If you feel resistance from the sticker while you try to peel it off, apply a bit of heat with the same method mentioned above.
- Once the sticker is removed completely, if there is some adhesive left over, put some alcohol on the clean microfiber cloth and gently wipe the excess adhesive away. Make sure you do not rub the area too hard or you might blur the clear coat of the paint.
Please Follow the installation instructions in order to not damage the paint and/or lacquer of the motorbike while removing the stickers.
Tools You need
- A clean soft microfiber cloth.
- A 70% alcohol for cleaning excess adhesive.
- Heat Gun or Hairdryer.
Yes you can remove the styling kit and the protective films will remain unharmed
If request replacing only a damaged side of a wrap, you may want to recommend replacing the entire graphic. Many factors will contribute to the replaced section appearing different, which may not be satisfactory for you. Those factors include color shifts due to using film from a different lot of printing done at a later date, and the slight fading or change in gloss that may have occurred on the installed film.
Signature Custom Designs vinyl can easily be removed without damaging the paint. To remove a long-term installation, warm the film and peel it off slowly. If there is any adhesive left on the lens, simply roll it into a ball using your finger or thumb. Use an adhesive remover or a similar product that is safe for automotive finishes, to remove any left-over residue.
